Peanut Butter Chocolate Brownie Cups Recipe
Introduction
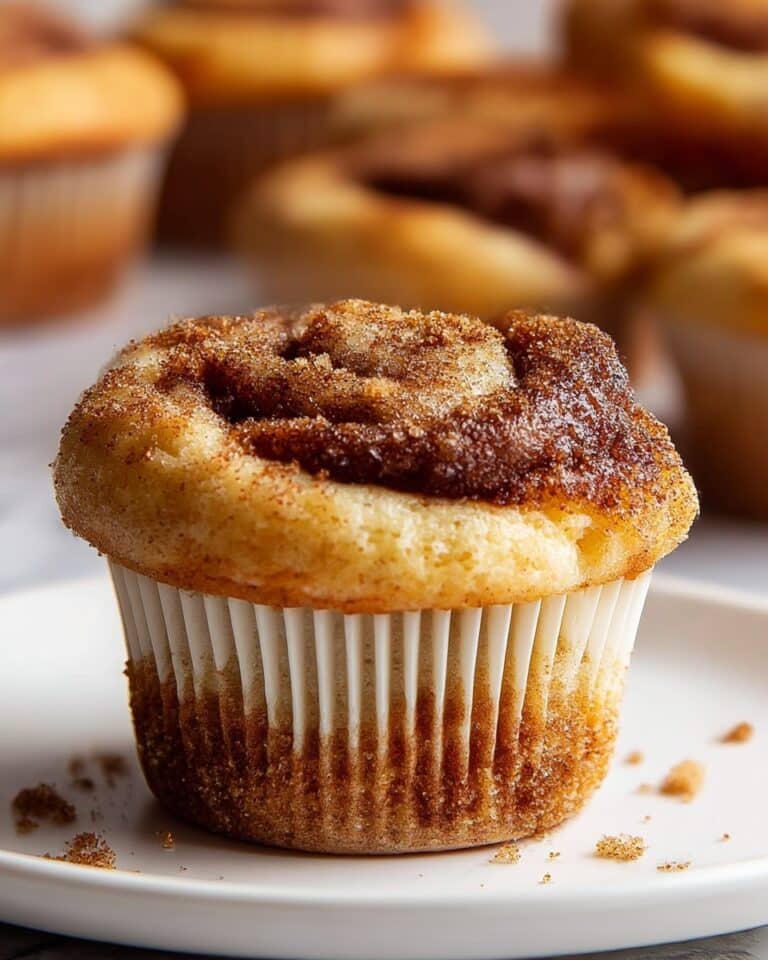
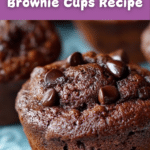
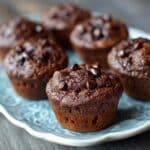
These Peanut Butter Brownie Cups combine rich, fudgy chocolate brownies with creamy peanut butter swirls for a decadent treat. Perfectly portioned in muffin tins, they’re easy to make and sure to satisfy any chocolate and peanut butter craving.

Ingredients
- 1/2 cup unsalted butter, melted
- 1 cup granulated sugar
- 2 large eggs
- 1 teaspoon vanilla extract
- 1/3 cup unsweetened cocoa powder
- 1/2 cup all-purpose flour
- 1 teaspoon salt
- 1 teaspoon baking powder
- 1/2 cup creamy peanut butter
- 1/4 cup powdered sugar
- 1 cup chocolate chips
Instructions
- Step 1: Preheat your oven to 350°F (175°C) and line a muffin tin with paper liners.
- Step 2: In a mixing bowl, combine the melted butter and granulated sugar until smooth. Add the vanilla extract and eggs, whisking until fully incorporated.
- Step 3: Sift together the cocoa powder, all-purpose flour, salt, and baking powder. Gently fold the dry ingredients into the wet mixture until just combined, being careful not to overmix.
- Step 4: Fill each muffin cup about two-thirds full with the brownie batter.
- Step 5: In a separate bowl, mix the peanut butter with powdered sugar until smooth. Drop a small spoonful of this mixture into the center of each brownie cup. Use a toothpick to gently swirl the peanut butter through the batter.
- Step 6: Sprinkle chocolate chips evenly over each brownie cup.
- Step 7: Bake for 20 to 25 minutes, or until the edges are set and a toothpick inserted into the brownie (avoiding the peanut butter swirl) comes out with moist crumbs.
- Step 8: Allow the brownie cups to cool in the pan for about 10 minutes before transferring them to a wire rack to cool completely.
Tips & Variations
- Use high-quality cocoa powder for a richer chocolate flavor.
- Lightly warm the peanut butter mixture before swirling to make it easier to work with.
- Try substituting almond butter for peanut butter for a delicious twist.
- Substitute gluten-free flour for all-purpose flour to make this recipe gluten-free.
- Add mini marshmallows or chopped nuts to the batter for extra texture.
- Use a piping bag to create precise peanut butter swirls for a professional look.
Storage
Store the brownie cups in an airtight container at room temperature for up to 3 days. For longer storage, freeze them in a freezer-safe container for up to two months. Thaw at room temperature before serving. Reheat in the microwave for 10–15 seconds to enjoy them warm and fresh.
How to Serve
Serve this delicious recipe with your favorite sides.
FAQs
Can I use crunchy peanut butter instead of creamy?
Yes, crunchy peanut butter can be used but it will create a different texture with small peanut pieces in the swirl, which some people enjoy.
How do I know when the brownies are done baking?
Check by inserting a toothpick into the brownie portion away from the peanut butter swirl; it should come out with a few moist crumbs but not wet batter.
PrintPeanut Butter Chocolate Brownie Cups Recipe
Delicious and fudgy peanut butter chocolate brownie cups that combine rich cocoa flavor with creamy peanut butter swirls, baked in muffin tins for easy serving. These treats are perfect for chocolate lovers looking for a delightful, homemade dessert that balances sweetness with the savory hint of peanut butter.
- Prep Time: 15 minutes
- Cook Time: 20 to 25 minutes
- Total Time: 40 minutes
- Yield: 12 brownie cups 1x
- Category: Dessert
- Method: Baking
- Cuisine: American
Ingredients
Brownie Batter
- 1/2 cup unsalted butter, melted
- 1 cup granulated sugar
- 2 large eggs
- 1 teaspoon vanilla extract
- 1/3 cup unsweetened cocoa powder
- 1/2 cup all-purpose flour
- 1 teaspoon baking powder
- 1 teaspoon salt
Peanut Butter Swirl
- 1/2 cup creamy peanut butter
- 1/4 cup powdered sugar
Topping
- 1 cup chocolate chips
Instructions
- Preheat the Oven: Preheat your oven to 350°F (175°C) and line your muffin tins with paper liners to prepare for baking.
- Prepare the Brownie Batter: In a mixing bowl, combine the melted butter and granulated sugar until smooth. Add vanilla extract and eggs, whisking until fully incorporated. Sift together cocoa powder, all-purpose flour, baking powder, and salt; gently fold into the wet mixture just until combined to keep the batter light.
- Fill the Muffin Tin: Evenly distribute the brownie batter into the muffin cups, filling each about two-thirds full.
- Create the Peanut Butter Swirl: In a separate bowl, mix peanut butter with powdered sugar until smooth. Drop a small amount of this mixture into the center of each brownie cup, and use a toothpick to gently swirl it through the batter.
- Add the Finishing Touch: Sprinkle chocolate chips over each brownie cup to add extra chocolate sweetness.
- Bake: Bake in the preheated oven for 20 to 25 minutes, or until edges are set and a toothpick inserted into the chocolate part (avoiding the peanut butter swirl) comes out with moist crumbs.
- Cool and Serve: Allow the brownie cups to cool in the pan for about 10 minutes before transferring to a wire rack to cool completely.
Notes
- Use high-quality cocoa powder for a richer chocolate flavor.
- Lightly heat the peanut butter mixture before swirling to make it easier to incorporate.
- Add mini marshmallows or chopped nuts into the batter for a fun texture variation.
- Use a piping bag for precise peanut butter swirls to achieve a professional appearance.
- Do not overbake to keep the brownies moist and fudgy.
- You can substitute almond butter for peanut butter for a twist on the recipe.
- For a gluten-free option, substitute all-purpose flour with gluten-free flour.
Keywords: peanut butter brownie cups, chocolate brownies, peanut butter swirl, baked brownie cups, easy dessert, chocolate peanut butter recipe