Lunch Lady Peanut Butter Bars Recipe
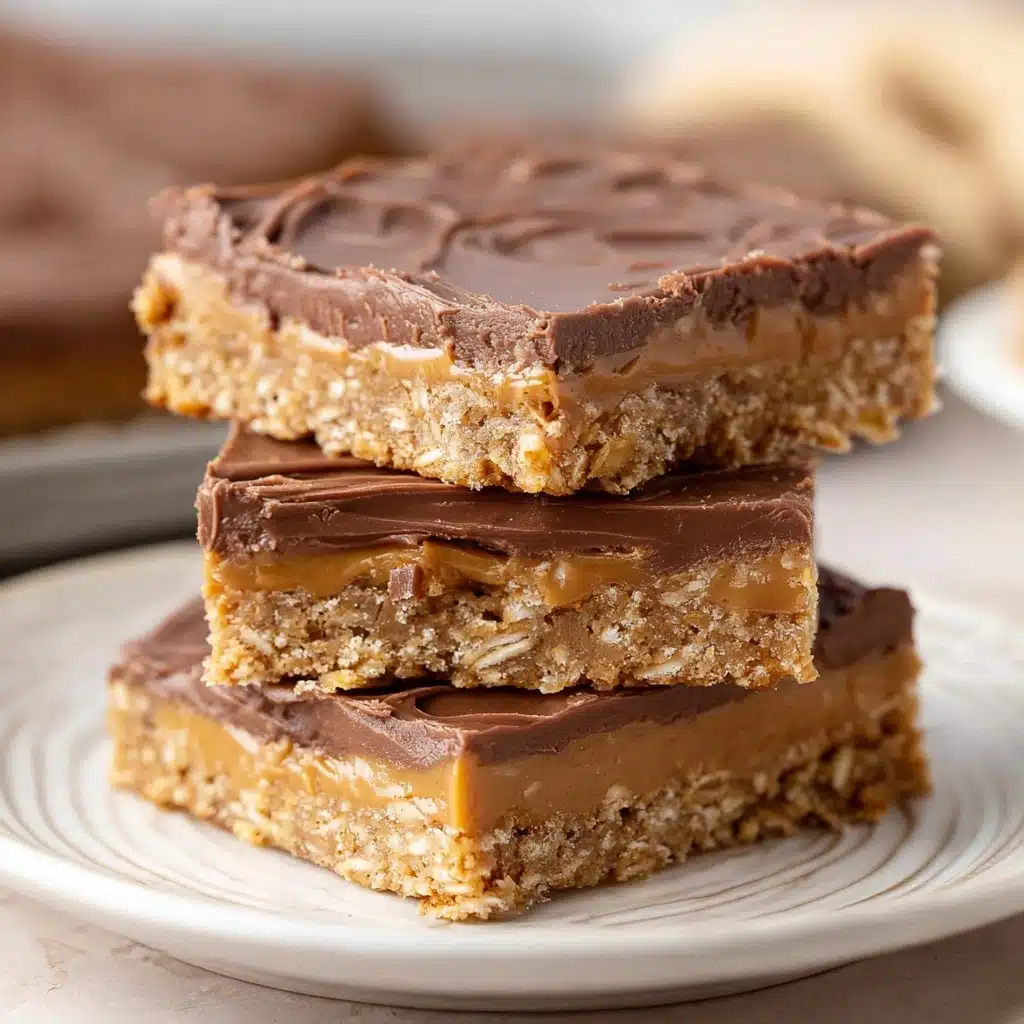
If you have a peanut butter craving that just won’t quit, you absolutely need to try these Lunch Lady Peanut Butter Bars. They are a nostalgic, chewy, and chocolatey delight packed with creamy peanut butter and a luscious cocoa frosting that feels like a warm hug in dessert form. What makes these bars truly special is how they balance rich flavors with a super satisfying texture from the oats and a hint of saltiness that elevates the peanut butter to its fullest glory. Whether you’re packing them for school lunches, sharing at a potluck, or sneaking a late-night treat, these bars will quickly become your go-to crowd-pleaser.
Ingredients You’ll Need
The magic of Lunch Lady Peanut Butter Bars is all in the simple yet essential ingredients. Each one plays a crucial role in bringing the perfect balance of creamy, chewy, and sweet flavors. From the butter that gives richness to the oats that add heartiness, these ingredients come together in harmony to make every bite unforgettable.
- Salted butter: Provides a creamy base and brings out the flavors while balancing sweetness.
- Granulated sugar: Adds crisp sweetness and helps create a tender crumb.
- Light brown sugar: Contributes a deep, caramel-like flavor and moisture to the bars.
- Creamy peanut butter: The star ingredient that adds richness and peanutty goodness, used in both the bars and topping.
- Eggs: Bind all the ingredients together and lend a soft texture.
- Vanilla extract: Enhances and rounds out all the flavors beautifully.
- All-purpose flour: Provides structure to hold the bars perfectly.
- Old-fashioned oats: Add a chewy, wholesome texture that makes these bars stand out.
- Baking soda: Leavens just enough for a tender bite.
- Salt: Balances sweetness and intensifies the peanut butter’s flavor.
- Powdered sugar: Creates a silky, sweet chocolate frosting.
- Cocoa powder: Brings rich chocolate flavor to the frosting for that irresistible finish.
- Milk: Helps achieve the perfect frosting consistency.
How to Make Lunch Lady Peanut Butter Bars
Step 1: Prepare your oven and pan
Start by preheating your oven to 350°F. Grease a half-sheet baking pan (13″x18″) with baking spray to ensure your bars don’t stick and bake evenly. This large pan size is perfect for making a big batch that’s easy to slice and share.
Step 2: Cream the butter, sugars, and peanut butter
Using a mixer, beat the softened butter with the granulated sugar, light brown sugar, and 1 cup of peanut butter until the mixture is light, fluffy, and creamy. This step is key for a soft and rich base, and you’ll immediately notice the delicious peanut butter aroma filling your kitchen.
Step 3: Incorporate eggs and vanilla
Add the eggs one at a time, mixing until fully combined after each. Then, stir in the vanilla extract. Scrape down the bowl to make sure everything incorporates perfectly, resulting in a smooth, uniform batter.
Step 4: Add the dry ingredients
In a separate bowl, combine the flour, oats, baking soda, and salt. Gently mix these dry ingredients into the wet mixture until just combined — it’s important not to overmix here to keep the bars tender with a nice crumb.
Step 5: Bake the bars
Spread your peanut butter oat cookie dough evenly into the prepared pan using a spatula. Bake for 15 to 17 minutes, until the edges turn golden brown and the center is barely set. Watch carefully to avoid overbaking; you want that soft chewiness inside.
Step 6: Spread the melted peanut butter topping
While the bars are still warm, melt the remaining 1 ½ cups of peanut butter in the microwave for about one minute. Drizzle the melted peanut butter evenly over the bars and spread it out with a spatula or knife. Let this set completely — this luscious peanut butter layer adds richness and extra creaminess that makes these bars extraordinary.
Step 7: Make and spread the chocolate frosting
Whip the frosting by beating the softened butter, powdered sugar, cocoa powder, milk, and vanilla extract until smooth and fluffy. Spread this beautiful chocolate frosting evenly over the cooled bars. The contrasting flavors and silky texture of the frosting bring these bars to the next level of peanut butter chocolate delight.
Step 8: Chill and cut
Allow the bars to cool until the frosting and peanut butter topping firm up. Chilling in the fridge speeds this process, making slicing neat squares much easier. Then, serve and get ready to enjoy every bite of your homemade Lunch Lady Peanut Butter Bars!
How to Serve Lunch Lady Peanut Butter Bars
Garnishes
A simple sprinkle of chopped roasted peanuts adds a delightful crunch and bursts of nutty flavor on top of the frosting. You can also consider mini chocolate chips or a dusting of flaky sea salt to elevate the taste and presentation. These little touches take the bars from classic to show-stopping in seconds.
Side Dishes
Lunch Lady Peanut Butter Bars pair wonderfully with a cold glass of milk or a cup of freshly brewed coffee or tea. Their chewy, sweet richness complements these drinks perfectly, making snack or dessert time feel like a cozy indulgence. For a wholesome snack spread, serve alongside fresh fruit or crunchy veggies dipped in yogurt sauce.
Creative Ways to Present
Want to impress friends or family? Try cutting the bars into fun shapes using cookie cutters or stack them with layers of whipped cream and sliced bananas for a decadent peanut butter bar parfait. Wrapping them individually with parchment paper and tying with a cute string turns these bars into adorable homemade gifts or lunchbox surprises.
Make Ahead and Storage
Storing Leftovers
Once frosted, keep your Lunch Lady Peanut Butter Bars covered in an airtight container at room temperature for up to a week. This keeps them fresh and soft without drying out. If your kitchen is warm, storing them in the refrigerator is a great alternative and the bars taste fantastic served chilled.
Freezing
These bars freeze beautifully for 2 to 3 months. For easy thawing and serving, slice them into individual squares first. Freeze the cut bars on a tray for about an hour to firm up the frosting, then transfer them to a freezer-safe container. When you want a treat, pop them in the fridge to thaw overnight or at room temperature for a few hours.
Reheating
If you like your Lunch Lady Peanut Butter Bars a little warm, gently microwave a square for about 10 to 15 seconds. This softens the peanut butter and frosting, releasing that fresh-baked flavor and making them feel like comfort food at its finest. Just be careful not to overheat or the frosting might get too melty.
FAQs
Can I use natural peanut butter in the recipe?
Yes! Natural peanut butter works, but since it can be thinner and oilier, you may want to stir it well before measuring. Also, the texture of the bars might be slightly less creamy but still delicious.
Is there a gluten-free version of these bars?
Absolutely! Swap the all-purpose flour with a 1-to-1 gluten-free baking flour. Make sure your oats are certified gluten-free as well to keep the bars safe for gluten-sensitive eaters.
Can I substitute the oats with something else?
Oats are key to the chewy texture but for variation, you can try quick oats or even rolled quinoa flakes. Keep in mind this will change the texture and taste slightly but can still be tasty.
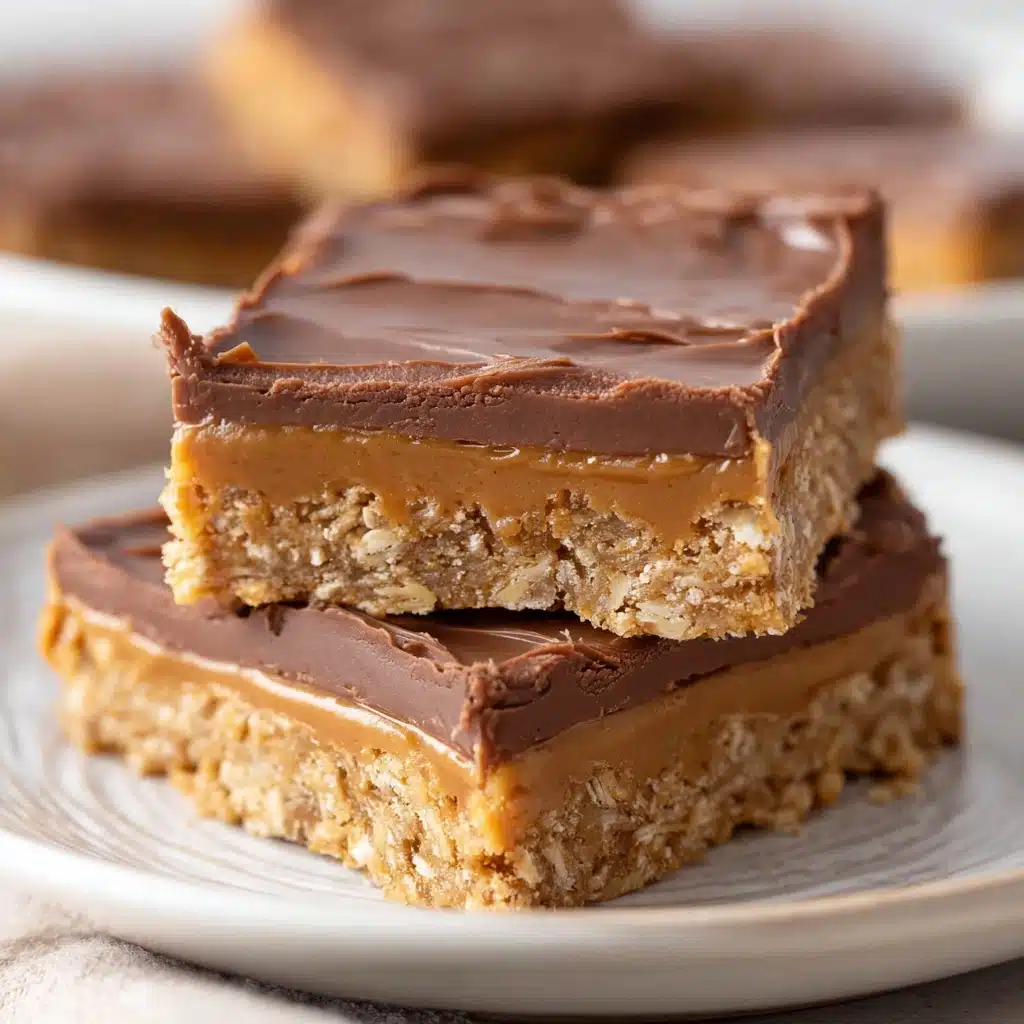
How thick should the peanut butter and chocolate layers be?
The peanut butter topping should be a thin, even layer just thick enough to coat the bars without overwhelming them, around 1/8 inch. The chocolate frosting can be a bit thicker, about 1/4 inch, to provide a smooth, rich finish.
Can these bars be made nut-free?
Yes! Substitute the peanut butter with sunflower seed butter or cookie butter to make them allergy-friendly while keeping that creamy, indulgent feel.
Final Thoughts
Nothing beats the comforting, nostalgic joy of homemade Lunch Lady Peanut Butter Bars. With their perfect balance of peanut butter richness, chewy oats, and silky chocolate frosting, these bars are destined to become a treasured favorite in your kitchen. I can’t wait for you to bake a batch and share this delicious tradition with your loved ones—prepare for lots of smiles and requests for seconds!
PrintLunch Lady Peanut Butter Bars Recipe
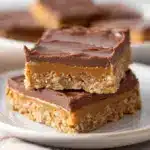
These Lunch Lady Peanut Butter Bars combine a rich peanut butter oatmeal cookie base with a creamy peanut butter drizzle and a smooth chocolate frosting. Perfectly chewy and packed with peanut butter flavor, they make a delightful treat for dessert or snack time.
- Prep Time: 15 minutes
- Cook Time: 17 minutes
- Total Time: 50 minutes
- Yield: 24 bars 1x
- Category: Dessert
- Method: Baking
- Cuisine: American
- Diet: Vegetarian
Ingredients
Bars
- 1 cup salted butter, softened (227g)
- 1 cup granulated sugar (200g)
- 1 cup packed light brown sugar (200g)
- 2 ½ cups creamy peanut butter, divided
- 2 large eggs
- 2 teaspoons vanilla extract
- 2 cups all-purpose flour, scooped & leveled (282g)
- 2 cups old-fashioned oats
- 1 teaspoon baking soda
- 1 teaspoon salt
Frosting
- ½ cup salted butter, softened (114g)
- 3 cups powdered sugar
- 4 Tablespoons cocoa powder
- ¼ cup milk
- 2 teaspoons vanilla extract
Instructions
- Preheat the oven and prepare the pan: Preheat your oven to 350°F (175°C). Spray a half-sheet baking sheet (13″x18″) with baking spray to prevent sticking.
- Mix the wet ingredients: In a mixer, beat the softened butter, granulated sugar, brown sugar, and 1 cup of the peanut butter together until creamy and light in color. Add the eggs and vanilla extract, then beat again, scraping the sides and bottom of the bowl to combine everything well.
- Combine dry ingredients and form the dough: Add the flour, oats, baking soda, and salt to the wet mixture. Mix just until everything is combined. Be careful not to overmix. Spread the peanut butter oatmeal cookie dough evenly into the prepared baking pan using a spatula.
- Bake the bars: Bake in the preheated oven for 15-17 minutes until the edges turn golden brown and the middle is just set but slightly soft. Do not overbake to keep bars chewy.
- Add melted peanut butter layer: While the base is still hot, melt the remaining 1 ½ cups of peanut butter in the microwave for about 1 minute in a microwave-safe bowl. Drizzle and spread the melted peanut butter evenly over the top of the warm bars. Let cool completely until the peanut butter layer firms up; refrigerate to speed up cooling if desired.
- Prepare the chocolate frosting: Beat together the softened butter, powdered sugar, cocoa powder, milk, and vanilla extract in a large bowl until smooth and creamy.
- Frost and serve: Spread the chocolate frosting in an even layer over the cooled bars. Once frosted, cut into squares and serve.
Notes
- Storage: Keep bars covered in an airtight container at room temperature for 5-7 days. Alternatively, cover with plastic wrap once frosting has set or store them chilled in the refrigerator.
- Freezing: Freeze bars for 2-3 months. For best results, slice and freeze bars individually before stacking in a freezer-safe container to avoid sticking.
- Variation: Add chopped Reese’s peanut butter cups, Reese’s Pieces, or chopped dry roasted peanuts on top for extra peanut butter and chocolate flavor.
- Gluten-free version: Substitute all-purpose flour with a 1-to-1 gluten-free baking flour replacement and use certified gluten-free oats.
- Allergy-friendly: For peanut allergies, replace peanut butter with cookie butter, almond butter, or sunflower seed butter.
- Recipe adapted from Six Sisters’ Stuff and featured on page 224 of the cookbook House of Nash Eats Everyday!
Nutrition
- Serving Size: 1 bar (1/24th of recipe)
- Calories: 280
- Sugar: 22g
- Sodium: 150mg
- Fat: 18g
- Saturated Fat: 7g
- Unsaturated Fat: 9g
- Trans Fat: 0g
- Carbohydrates: 25g
- Fiber: 2g
- Protein: 6g
- Cholesterol: 40mg
Keywords: peanut butter bars, peanut butter oatmeal bars, chocolate frosting bars, easy dessert bars, no bake frosting, Reese’s peanut butter bars, homemade peanut butter bars