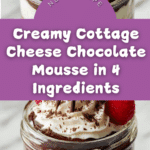
Cottage Cheese Chocolate Mousse Recipe
Introduction
This Cottage Cheese Chocolate Mousse is a surprisingly creamy and indulgent dessert made with just four simple ingredients. It’s quick to blend, rich in chocolate flavor, and perfect for a healthy treat that feels decadent. No fancy powders or complicated steps—just smooth, fluffy mousse you can enjoy anytime.
Ingredients
- 1 cup cottage cheese
- 2 tbsp cocoa powder
- 2–3 tbsp maple syrup or honey (adjust for sweetness)
- 1 tsp vanilla extract
Instructions
- Step 1: Combine the cottage cheese, cocoa powder, maple syrup (or honey), and vanilla extract in a blender or food processor.
- Step 2: Blend the mixture until smooth and creamy. Pause to scrape down the sides if needed to ensure everything is well mixed.
- Step 3: Optionally, chill the mousse in the refrigerator for 30 minutes to thicken and enhance the texture.
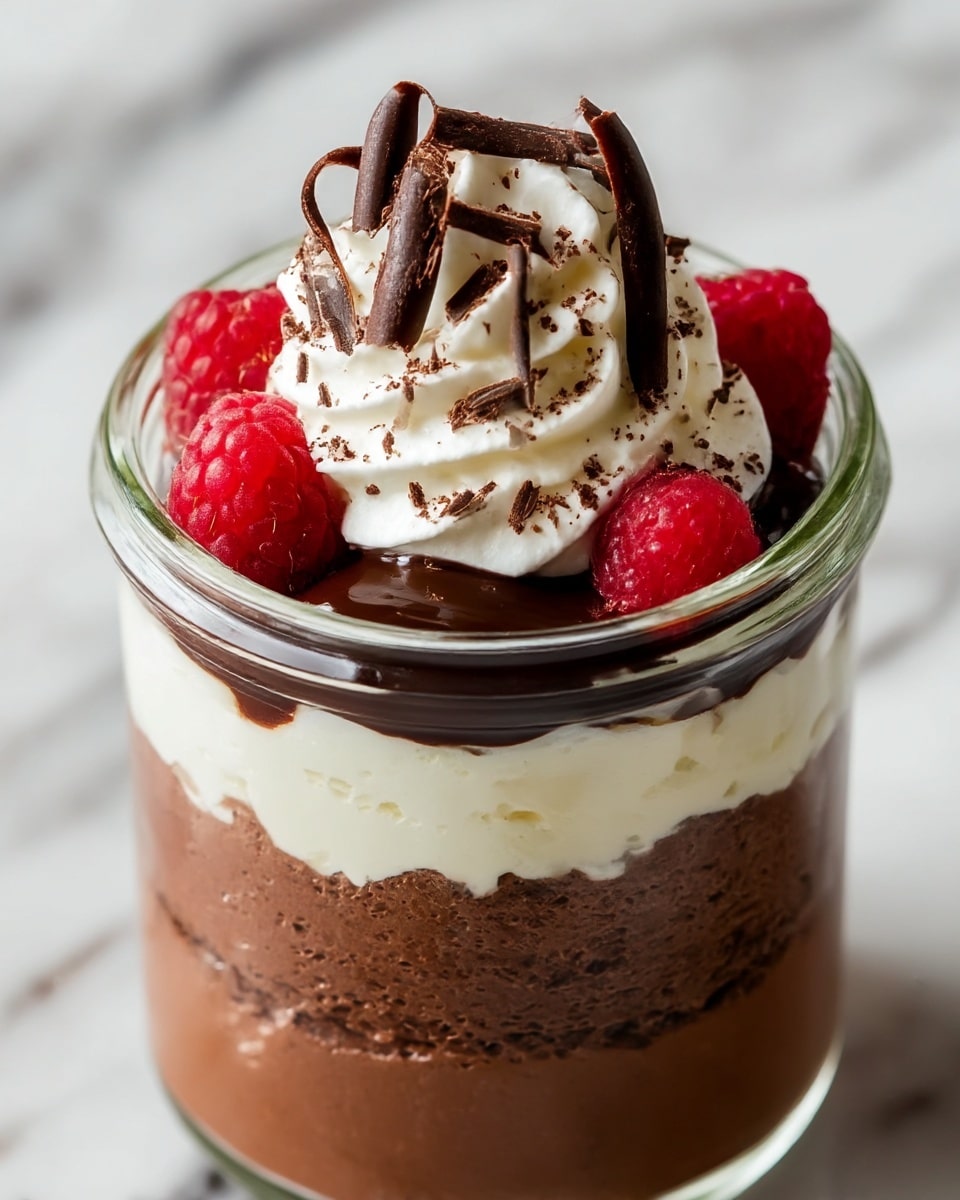
- Step 4: Serve the mousse in cups and top with shaved chocolate, fresh berries, or a dollop of whipped cream if desired.
Tips & Variations
- Make sure to blend thoroughly for a smooth, mousse-like texture—no lumps!
- Swap maple syrup with honey, agave, stevia, or your favorite sweetener to suit your taste or dietary needs.
- Use Greek yogurt instead of cottage cheese for a different texture if preferred.
- Add a spoonful of almond or peanut butter for a nutty twist.
- For extra richness, blend in some melted dark chocolate chips.
- Try plant-based cottage cheese or thick coconut yogurt for a vegan version.
Storage
Store the mousse in an airtight container in the refrigerator for up to 3 days. It will thicken as it chills. You can also freeze it to enjoy a frozen dessert similar to chocolate ice cream. When ready to eat, thaw slightly for best texture.
How to Serve

Serve this delicious recipe with your favorite sides.
FAQs
Does it actually taste like mousse?
Yes! When blended well, it’s smooth, creamy, and chocolatey. You won’t be able to tell it’s made from cottage cheese.
Can I make it ahead of time?
Absolutely. Prepare it in advance and keep it covered in the fridge for up to three days. The texture improves with a little chill time.
PrintCottage Cheese Chocolate Mousse Recipe

This Cottage Cheese Chocolate Mousse recipe offers a creamy, rich, and surprisingly healthy dessert made with just four simple ingredients. Blended into a silky smooth mousse, it’s perfect for those craving chocolate without the guilt, featuring cottage cheese as the protein-packed base and naturally sweetened with maple syrup or honey. It requires no baking and can be enjoyed immediately or chilled for a thicker texture. A quick, easy, and decadent dessert hack for any occasion.
- Prep Time: 5 minutes
- Cook Time: 0 minutes
- Total Time: 5 minutes (plus optional 30 minutes chilling)
- Yield: 2 servings 1x
- Category: Dessert
- Method: Blending
- Cuisine: American
- Diet: Low Fat
Ingredients
Main Ingredients
- 1 cup cottage cheese
- 2 tbsp cocoa powder
- 2–3 tbsp maple syrup or honey (adjust for sweetness)
- 1 tsp vanilla extract
Optional Toppings
- Shaved chocolate
- Fresh berries
- Whipped cream
Instructions
- Blend the Ingredients: Combine the cottage cheese, cocoa powder, maple syrup, and vanilla extract in a blender or food processor. Blend until the mixture becomes smooth and silky, which forms the base mousse texture.
- Scrape and Blend Again: Pause the blender, scrape down the sides to mix in the sticking cocoa powder, and blend again to ensure an even, creamy consistency without any lumps.
- Chill the Mousse (Optional): For a thicker, more traditional mousse texture, refrigerate the blended mousse for at least 30 minutes before serving. This step enhances the creaminess and allows flavors to meld.
- Serve and Garnish: Spoon the mousse into serving cups or bowls. Top with optional garnishes like shaved chocolate, fresh berries, or a dollop of whipped cream to elevate the presentation and flavor.
Notes
- Blend sufficiently to achieve a smooth mousse; under-blending will leave a chunky texture.
- Always sweeten to balance the bitterness of cocoa powder.
- Use low-sodium cottage cheese to avoid a salty taste in the dessert.
- Avoid excessive toppings to keep the dessert balanced and prevent added sugar overload.
- Substitute sweeteners like honey, agave, stevia, or monk fruit as preferred.
- For cottage cheese intolerance, Greek yogurt is a good alternative, though texture varies slightly.
- Try adding melted dark chocolate or nut butters for variations.
- Chill mousse for up to 3 days; it thickens and flavors deepen over time.
- Freezes well to create a healthy frozen chocolate treat.
Keywords: Cottage Cheese Chocolate Mousse, Healthy Chocolate Dessert, Easy Chocolate Mousse, Low Fat Dessert, No Bake Chocolate Mousse, Protein Dessert