Christmas Cherry Bars Recipe
Introduction
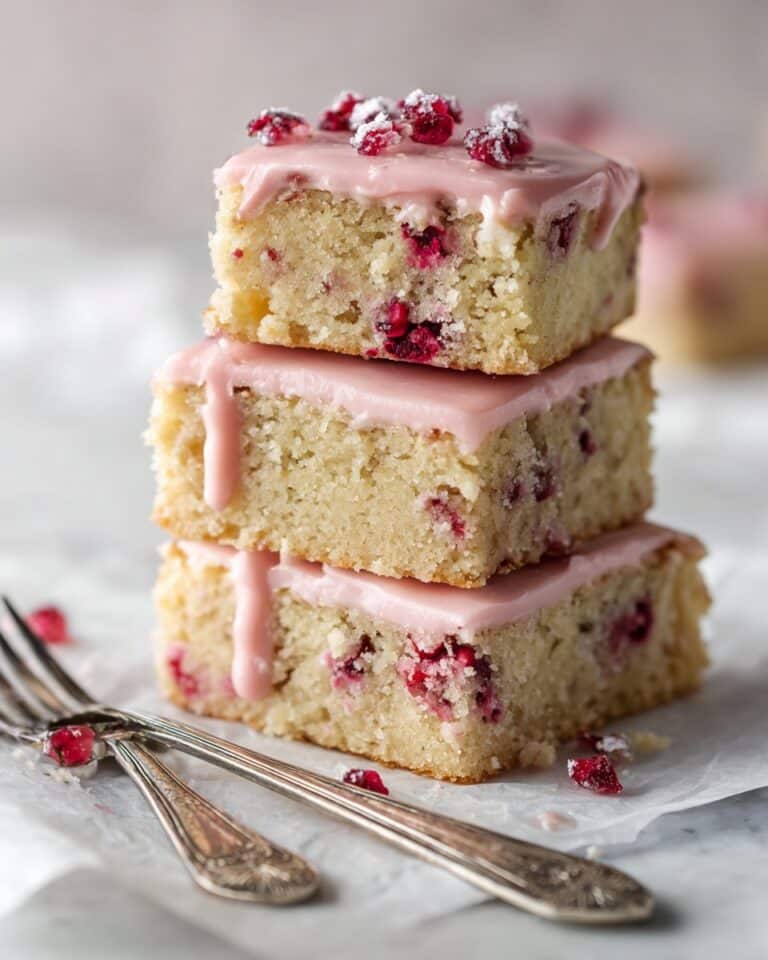
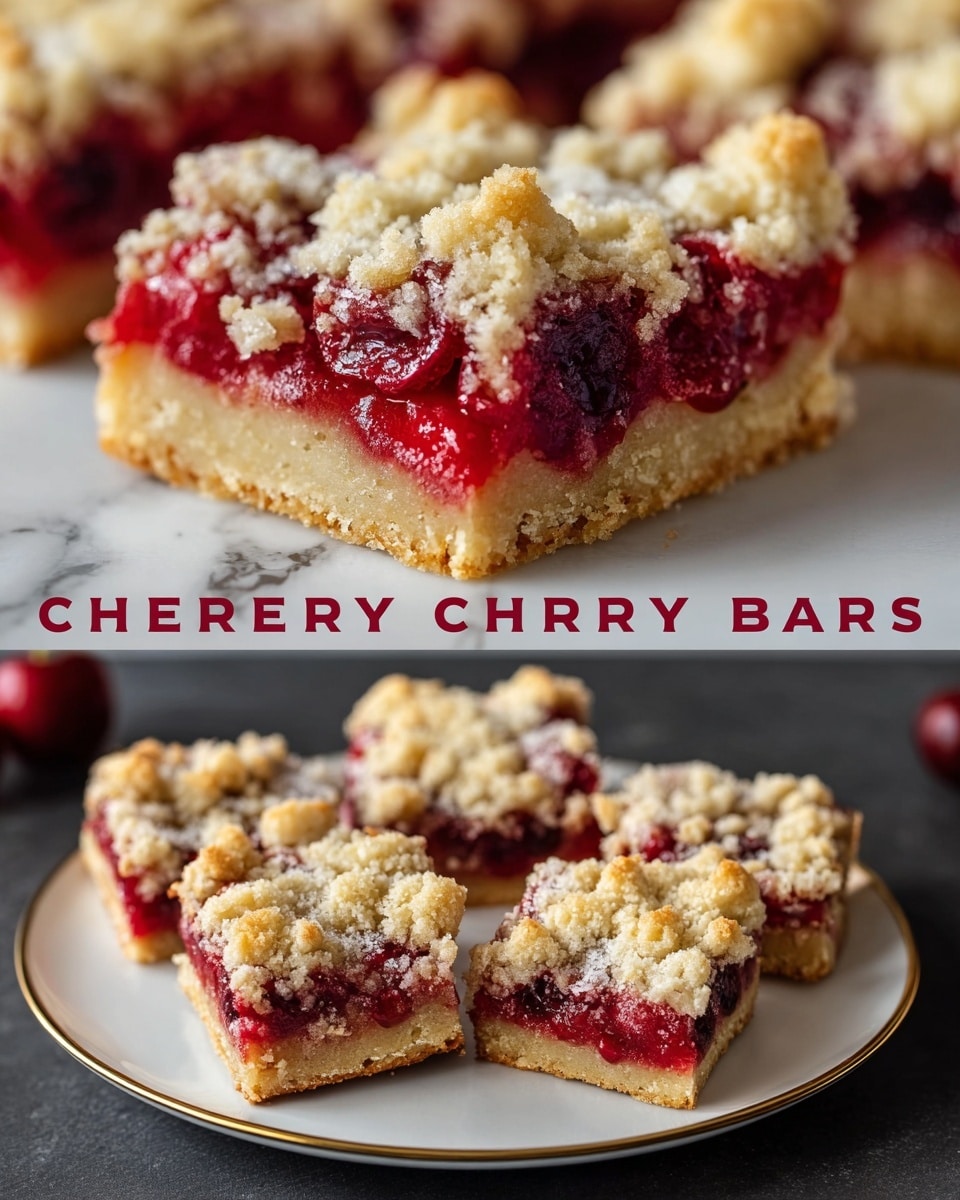
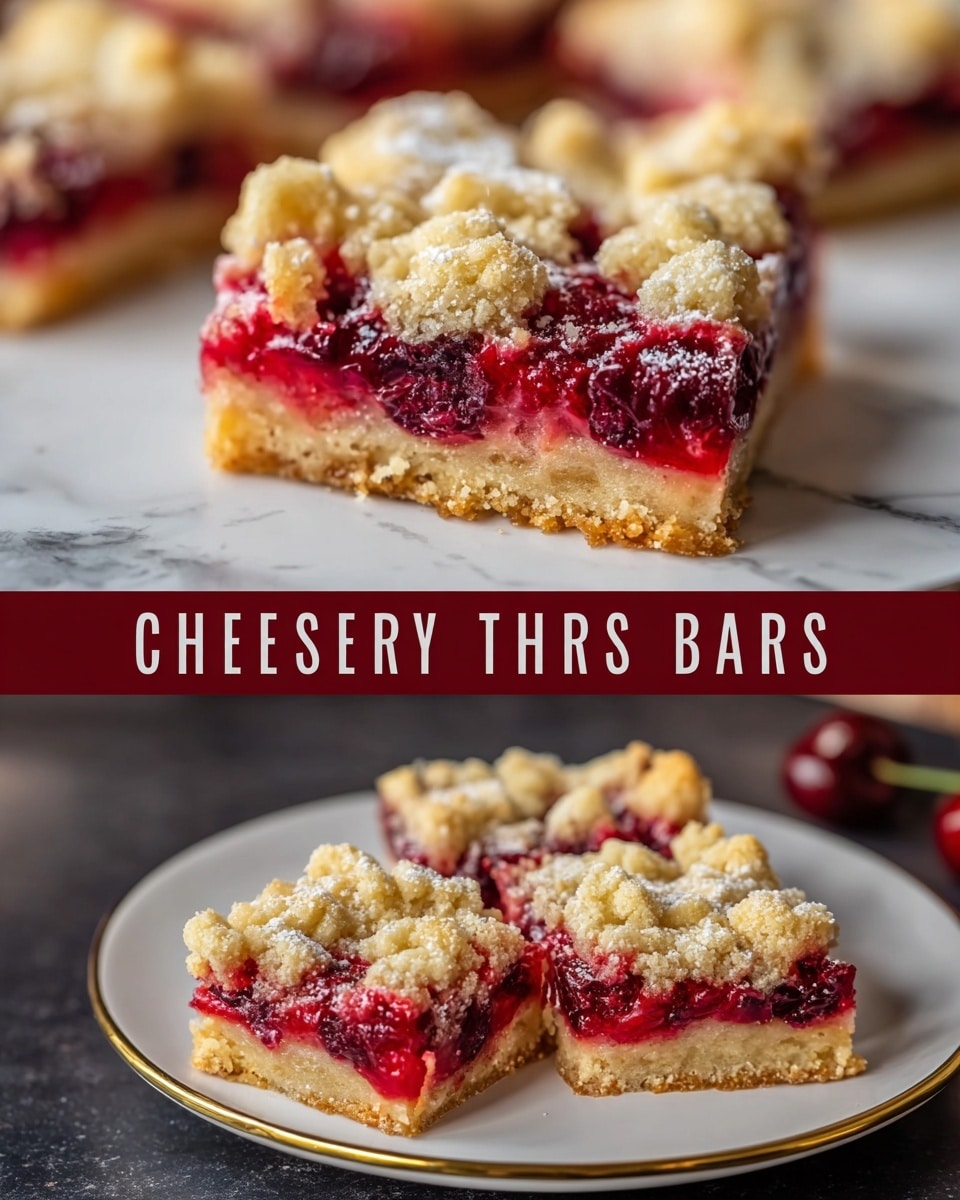
Christmas Cherry Bars are a delightful holiday treat featuring a crisp, buttery crust layered with sweet cherry pie filling and topped with a rustic crumb topping. This easy-to-make dessert is perfect for festive gatherings or cozy winter nights.
Ingredients
- 3 cups all-purpose flour
- 1 1/2 cups granulated sugar
- 1 teaspoon baking powder
- 1/2 teaspoon salt
- 1 cup (2 sticks) unsalted butter, cold and cut into cubes
- 2 large eggs
- 1 teaspoon vanilla extract
- 1/4 teaspoon almond extract (optional)
- 2 cans (21 ounces each) cherry pie filling
Instructions
- Step 1: Preheat your oven to 350°F (175°C). Grease a 9×13-inch baking pan or line it with parchment paper for easy removal and clean cuts.
- Step 2: In a large mixing bowl, combine the flour, sugar, baking powder, and salt. Stir until evenly blended.
- Step 3: Add the cold, cubed butter to the dry ingredients. Use a pastry cutter or your fingertips to cut the butter into the flour mixture until it forms pea-sized crumbles. Keep the mixture cold to ensure a crisp and tender crust.
- Step 4: Add the eggs, vanilla extract, and almond extract if using. Stir until the dough is crumbly but holds together when pressed.
- Step 5: Take about two-thirds of the dough and press it evenly into the bottom of the prepared baking pan. Press firmly but avoid overworking the dough to maintain tenderness.
- Step 6: Spoon the cherry pie filling evenly over the dough base, spreading it edge to edge.
- Step 7: Crumble the remaining dough over the cherry filling by pinching off small bits and scattering them evenly, allowing some filling to peek through.
- Step 8: Bake for 40 to 45 minutes, or until the top is lightly golden and the cherry filling bubbles at the edges.
- Step 9: Remove from the oven and let the bars cool completely in the pan to allow the filling to set before slicing.
- Step 10: Optional: Dust the cooled bars with powdered sugar for a festive, snowy finish.
Tips & Variations
- Use cold butter to ensure the crust stays crisp and crumbly.
- Lining the pan with parchment paper makes it easier to lift out the bars and slice neatly.
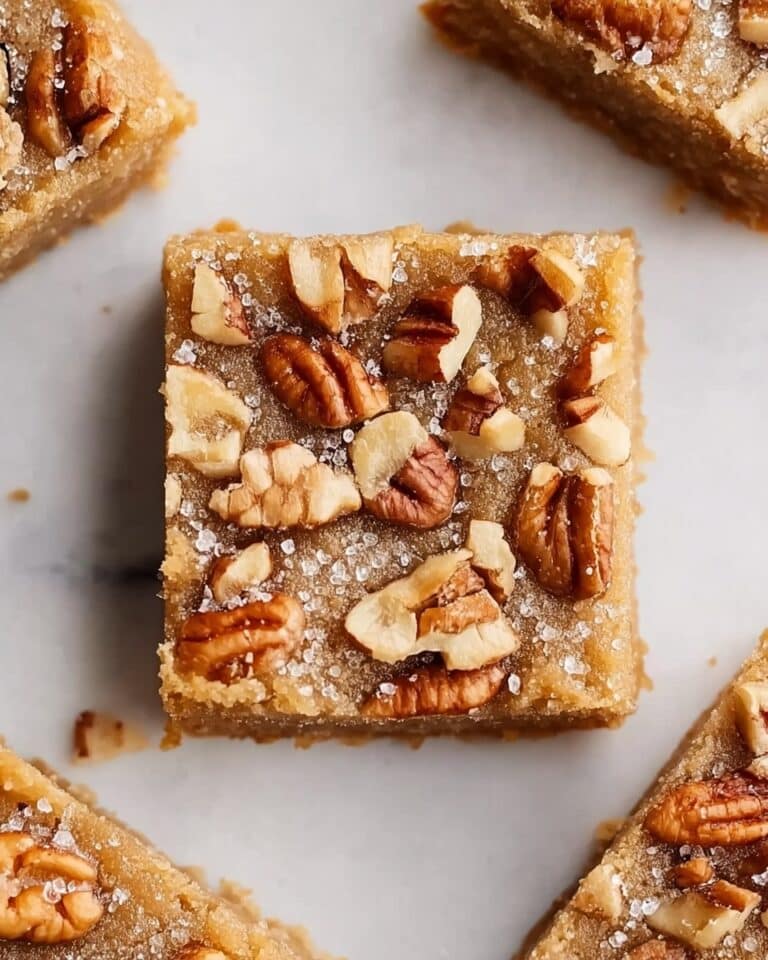
- For a nutty twist, sprinkle chopped almonds or pecans over the cherry layer before adding the crumb topping.
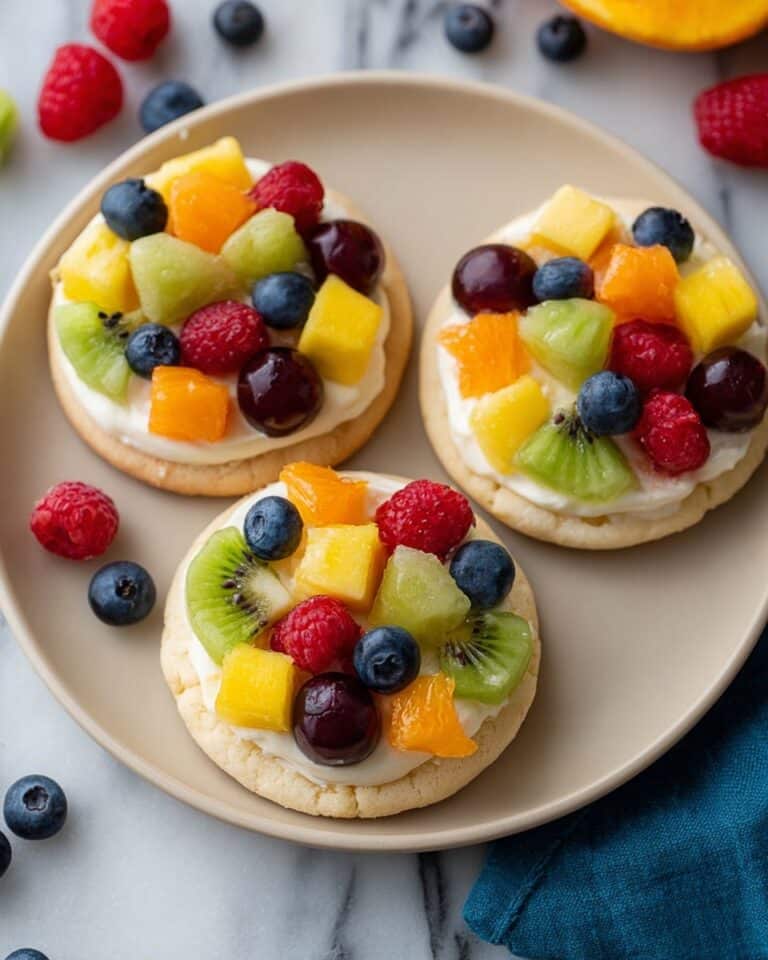
- Try substituting cherry filling with other fruit pie fillings like blueberry or apple for different flavors.
Storage
Store the bars in an airtight container at room temperature for up to 4 days, or refrigerate for up to 1 week. Reheat briefly in the microwave or enjoy chilled. They also freeze well for longer storage—thaw completely before serving.
How to Serve
Serve this delicious recipe with your favorite sides.
FAQs
Can I make these bars ahead of time?
Yes, Christmas Cherry Bars can be baked a day or two in advance and stored in an airtight container. Cooling them completely before storing helps maintain texture and flavor.
What if I don’t have almond extract?
The almond extract is optional and can be omitted without significantly affecting the flavor. You can also replace it with a little extra vanilla extract or leave it out entirely.
PrintChristmas Cherry Bars Recipe

These Christmas Cherry Bars are a festive and delicious dessert featuring a buttery, crumbly dough base layered with luscious cherry pie filling and topped with more buttery crumbs. Perfect for holiday gatherings, they offer a tender, crisp crust with a rich cherry filling and a rustic, golden crumble topping.
- Prep Time: 20 minutes
- Cook Time: 40-45 minutes
- Total Time: 1 hour 5 minutes
- Yield: 24 bars 1x
- Category: Christmas
- Method: Baking
- Cuisine: American
Ingredients
For the Dough:
- 3 cups all-purpose flour
- 1 1/2 cups granulated sugar
- 1 teaspoon baking powder
- 1/2 teaspoon salt
- 1 cup (2 sticks) unsalted butter, cold and cut into cubes
- 2 large eggs
- 1 teaspoon vanilla extract
- 1/4 teaspoon almond extract (optional)
For the Filling:
- 2 cans (21 ounces each) cherry pie filling
Instructions
- Preheat the Oven: Set your oven to 350°F (175°C). Grease a 9×13-inch baking pan or line it with parchment paper for easy removal and clean cuts.
- Mix the Dry Ingredients: In a large mixing bowl, combine the flour, sugar, baking powder, and salt. Stir until evenly blended.
- Add the Butter: Add the cold, cubed butter to the dry ingredients. Use a pastry cutter or your fingertips to cut the butter into the flour mixture until it forms pea-sized crumbles. Keep the mixture cold to help the crust bake up crisp and tender.
- Incorporate Wet Ingredients: Add the eggs, vanilla extract, and almond extract if using. Stir until the dough is combined. It should be crumbly but cohesive when pressed together.
- Form the Base: Take about two-thirds of the dough and press it evenly into the bottom of the prepared baking pan. Press firmly but avoid overworking the dough to maintain a tender texture.
- Add the Cherry Filling: Spoon the cherry pie filling over the base layer, distributing it evenly from edge to edge to ensure consistent fruit coverage.
- Top with Remaining Dough: Crumble the remaining dough over the cherry layer by pinching off small bits and scattering them evenly. Allow some of the filling to peek through for a rustic look.
- Bake the Bars: Place the pan in the oven and bake for 40 to 45 minutes, or until the top is lightly golden and the cherry filling is bubbling at the edges.
- Cool Completely: Remove the bars from the oven and let them cool completely in the pan. This allows the filling to set properly before slicing.
- Optional Topping: Once cooled, dust the bars with powdered sugar for a festive finish that adds a snowy look without extra sweetness.
Notes
- Use cold butter to ensure the dough creates a crisp crust and golden crumble.
- Line your pan with parchment paper for clean removal and even slicing.
- Store bars in an airtight container at room temperature for up to 4 days or refrigerate for up to 1 week.
- Allow bars to cool completely before slicing to prevent filling from oozing out.
Keywords: Christmas dessert, cherry bars, holiday baking, cherry pie filling, crumb bars, festive dessert