Black Forest Cheesecake Recipe
Introduction
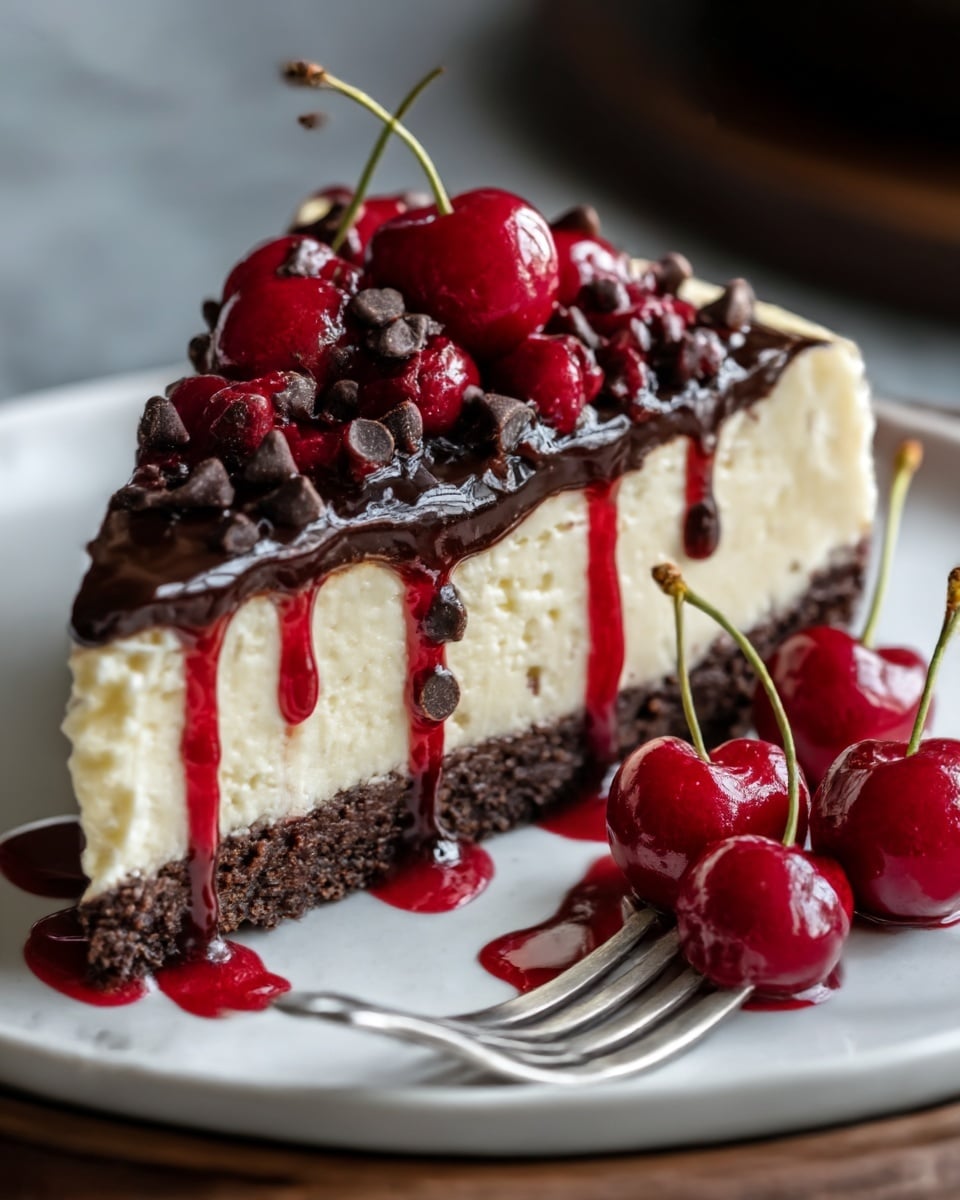
If you’re a fan of decadent desserts, then the Black Forest Cheesecake is a must-try! This rich and creamy treat combines the delightful flavors of chocolate, cherries, and cream cheese in a way that will leave your taste buds dancing. Perfect for special occasions or any time you crave a luscious, indulgent dessert.
Ingredients
- 24 oz full-fat cream cheese
- 1 cup granulated sugar
- 3 large eggs
- 1 cup sour cream
- ½ cup unsweetened cocoa powder
- 21 oz cherry pie filling
- 1 cup heavy whipping cream (for topping)
- Chocolate shavings for garnish
Instructions
- Step 1: Preheat the oven to 325°F (160°C) and prepare a greased springform pan lined with parchment paper.
- Step 2: For the cake base, mix flour, cocoa powder, baking powder, and salt in a bowl. In another bowl, combine melted butter, sugar, and eggs until fluffy. Fold in the dry ingredients, then pour the batter into the prepared pan and bake for 25-30 minutes.
- Step 3: Prepare the cheesecake filling by blending the cream cheese and sugar until smooth. Add eggs one at a time, then mix in the sour cream and cocoa powder. Pour this mixture over the cooled cake base.
- Step 4: Place the springform pan in a water bath and bake for 50-60 minutes, or until the center is slightly jiggly but set.
- Step 5: Allow the cheesecake to cool completely, then refrigerate overnight to set fully.
- Step 6: Before serving, top with cherry pie filling, whipped heavy cream, and chocolate shavings for a classic Black Forest finish.
Tips & Variations
- Use fresh or frozen cherries instead of pie filling for a more natural fruit flavor.
- Ensure cream cheese is at room temperature to achieve a smooth filling without lumps.
- Wrap the springform pan base with foil to prevent water from leaking into the cheesecake during baking.
- For an extra chocolate kick, add chocolate chips to the cake base mixture before baking.
Storage
Store the cheesecake covered in the refrigerator for up to 3-4 days. To reheat, allow it to come to room temperature or enjoy chilled. Whipped cream topping is best added fresh before serving to maintain its texture.
How to Serve
Serve this delicious recipe with your favorite sides.
FAQs
Can I use a regular pan instead of a springform pan?
A springform pan is recommended for easy removal without damaging the cheesecake. If using a regular pan, line it with parchment paper and be extra careful when removing the cake.
Why bake the cheesecake in a water bath?
The water bath helps to regulate the temperature and prevent cracks by providing gentle, even heat, resulting in a creamier texture.
PrintBlack Forest Cheesecake Recipe

This Black Forest Cheesecake recipe combines a rich, chocolatey cake base with a creamy cheesecake filling, topped with luscious cherry pie filling, whipped cream, and chocolate shavings. Perfect for dessert lovers who crave the classic flavors of Black Forest in a decadent, baked cheesecake form.
- Prep Time: 30 minutes
- Cook Time: 1 hour 30 minutes
- Total Time: 10 hours (including chilling time)
- Yield: 10–12 servings 1x
- Category: Dessert
- Method: Baking
- Cuisine: German-inspired
Ingredients
Cake Base
- 1 cup all-purpose flour
- ½ cup unsweetened cocoa powder
- 1 tsp baking powder
- ¼ tsp salt
- ½ cup melted butter
- ½ cup granulated sugar
- 2 large eggs
Cheesecake Filling
- 24 oz full-fat cream cheese, softened
- 1 cup granulated sugar
- 3 large eggs
- 1 cup sour cream
- ½ cup unsweetened cocoa powder
Topping
- 21 oz cherry pie filling
- 1 cup heavy whipping cream
- 2 tbsp granulated sugar (for whipping cream)
- Chocolate shavings for garnish
Instructions
- Preheat and Prepare Pan: Preheat your oven to 325°F (160°C). Grease a 9-inch springform pan and line the bottom with parchment paper to prevent sticking and allow easy removal.
- Make Cake Base: In a medium bowl, whisk together flour, cocoa powder, baking powder, and salt. In another large bowl, beat melted butter, ½ cup sugar, and 2 eggs until fluffy and combined. Gently fold the dry ingredients into the wet mixture until just incorporated. Pour this batter into the prepared springform pan and bake for 25-30 minutes until set. Remove from oven and allow to cool completely.
- Prepare Cheesecake Filling: In a large bowl, beat softened cream cheese with 1 cup sugar until smooth and creamy. Add eggs one at a time, beating well after each addition. Mix in sour cream and cocoa powder until fully blended and silky smooth.
- Assemble and Bake Cheesecake: Pour the cheesecake filling evenly over the cooled cake base. Place the springform pan into a larger roasting pan and carefully pour hot water into the roasting pan until it reaches halfway up the sides of the springform pan, creating a water bath. Bake at 325°F (160°C) for 50-60 minutes until the center is slightly jiggly but mostly set.
- Cool and Refrigerate: Remove the cheesecake from the water bath and let it cool completely on a wire rack. Once cooled, refrigerate the cheesecake overnight to firm up and develop flavors.
- Prepare Topping: In a chilled bowl, whip the heavy cream with 2 tablespoons sugar until stiff peaks form.
- Serve: Before serving, remove the cheesecake from the springform pan. Top with cherry pie filling, dollops of whipped cream, and garnish with chocolate shavings for an elegant finish.
Notes
- Make sure the cream cheese is softened to room temperature to avoid lumps in the cheesecake filling.
- The water bath helps prevent cracks in the cheesecake by providing gentle, even heat and moisture.
- Allowing the cheesecake to chill overnight improves texture and flavor development.
- Use a sharp knife dipped in hot water between cuts for clean slices.
- Optional: Use fresh cherries instead of pie filling for a fresher taste.
Keywords: Black Forest, Cheesecake, Chocolate, Cherry, Dessert, Baked Cheesecake, Chocolate Cake