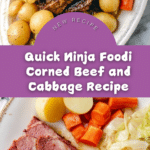
Ninja Foodi Corned Beef and Cabbage with Balsamic Glaze Recipe
Introduction
This Ninja Foodi Corned Beef and Cabbage recipe offers a tender, flavorful twist on a classic dish. Using the pressure cooker and air crisp functions, you get a juicy brisket with perfectly cooked vegetables and a tangy mustard glaze. It’s a great meal for any time you want comforting, hearty flavors without a long wait.
Ingredients
- 4 to 5 pounds corned beef brisket (with seasoning packet)
- 1 cup chicken stock
- ¼ cup balsamic vinegar
- 1 onion (diced)
- 7 cloves garlic (peeled)
- ½ teaspoon dried thyme leaves
- 3 bay leaves
- 1 ½ pounds gold baby potatoes (scrubbed)
- 1 pound carrots (peeled and cut into large pieces)
- 1 head green cabbage (cored and cut in wedges)
- ½ cup light brown sugar (packed)
- ½ cup water
- ½ cup dijon mustard
Instructions
- Step 1: Place the brisket in the cooker pot with the fat-side down. Add the seasoning packet, chicken stock, balsamic vinegar, diced onion, garlic cloves, dried thyme, and bay leaves.
- Step 2: Cover the cooker with the lid and set the valve to sealing.
- Step 3: Set the pressure cooker to manual or “pressure cook” mode for 1 hour and 15 minutes (75 minutes). Press start to begin the cooking cycle. Once done, allow the pressure to naturally release for 10 minutes, then perform a quick release.
- Step 4: Remove the brisket and keep it warm. Also remove the garlic and bay leaves from the pot.
- Step 5: Add the potatoes, carrots, and cabbage to the pot with the cooking liquid. Cover with the lid again and set the valve to sealing.
- Step 6: Set the pressure cooker to manual or “pressure cook” for 3 minutes. Press start to begin. Once the cycle finishes, quick release the pressure immediately.
- Step 7: To make the glaze, combine the brown sugar and water in a small saucepan. Heat over medium-high until boiling. Stir in the dijon mustard and cook for 2 to 3 minutes until the sauce reduces slightly.
- Step 8: Place the corned beef brisket over the cooked vegetables in the pot. Pour the mustard glaze evenly over the brisket. Replace the crisping lid and set the Air Crisp function to 400°F. Cook for 20 minutes to finish.
- Step 9: Remove the brisket and let it rest for 15 minutes before slicing.
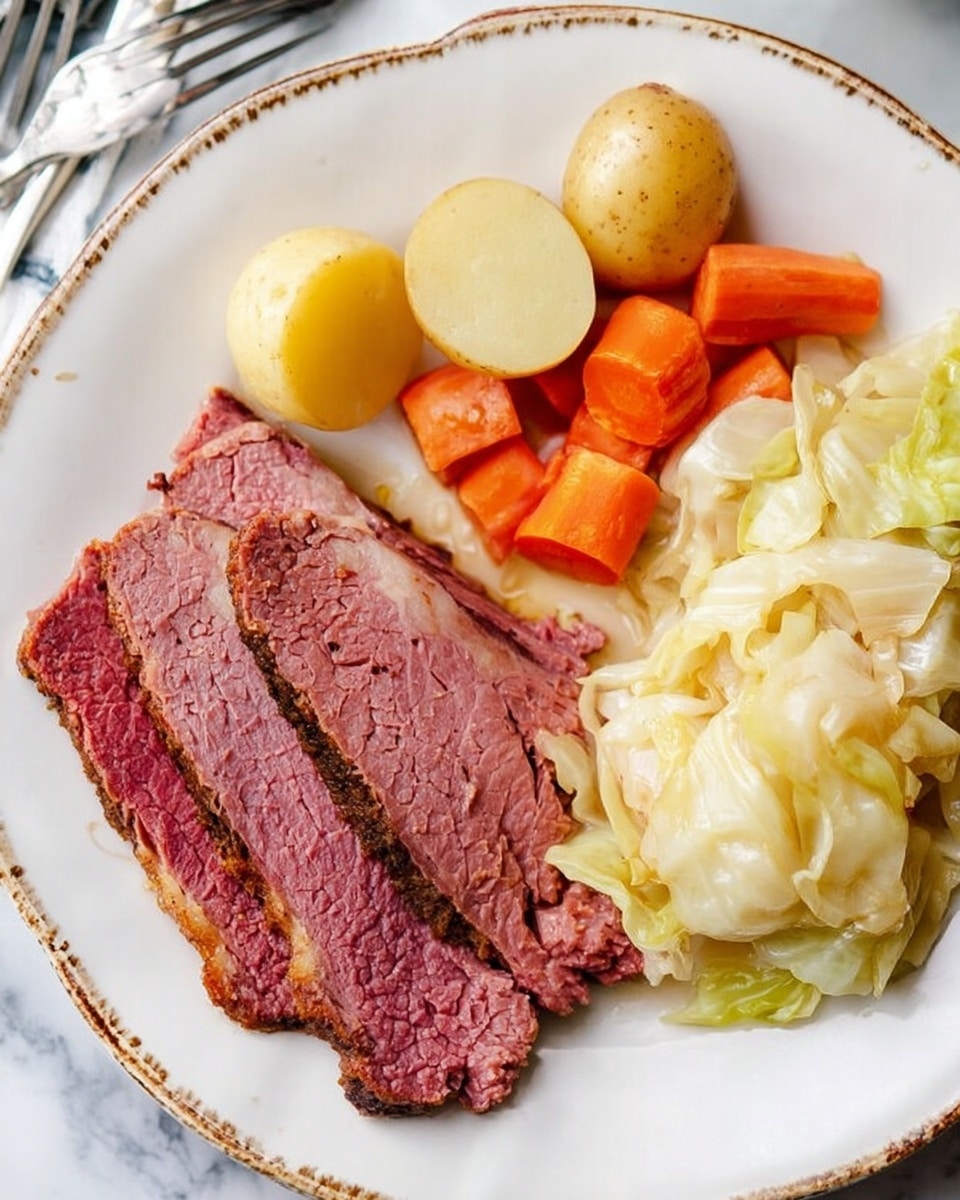
- Step 10: Slice the brisket against the grain. Serve with the vegetables and extra mustard if desired.
Tips & Variations
- For extra flavor, you can sear the brisket briefly before pressure cooking to develop a richer crust.
- Substitute red potatoes or fingerlings if you prefer different potato varieties.
- Add a splash of beer or stout to the cooking liquid for a traditional Irish flavor boost.
- If you don’t have a balsamic vinegar, apple cider vinegar works well as a substitute.
Storage
Store any leftover corned beef and vegetables in an airtight container in the refrigerator for up to 4 days. Reheat gently in the microwave or on the stovetop with a splash of broth to keep the meat moist. The glaze can be stored separately and reheated before serving.
How to Serve
Serve this delicious recipe with your favorite sides.
FAQs
Can I use a different cut of beef?
Corned beef brisket is recommended for its tenderness and flavor, but you could experiment with other cuts if desired. Just adjust cooking times as needed to ensure tenderness.
What if I don’t have a Ninja Foodi?
You can make this recipe in any electric pressure cooker or Instant Pot. For the finishing step, use the oven’s broiler or a hot skillet to crisp the brisket since the air crisp function is unique to Ninja Foodi.
PrintNinja Foodi Corned Beef and Cabbage with Balsamic Glaze Recipe

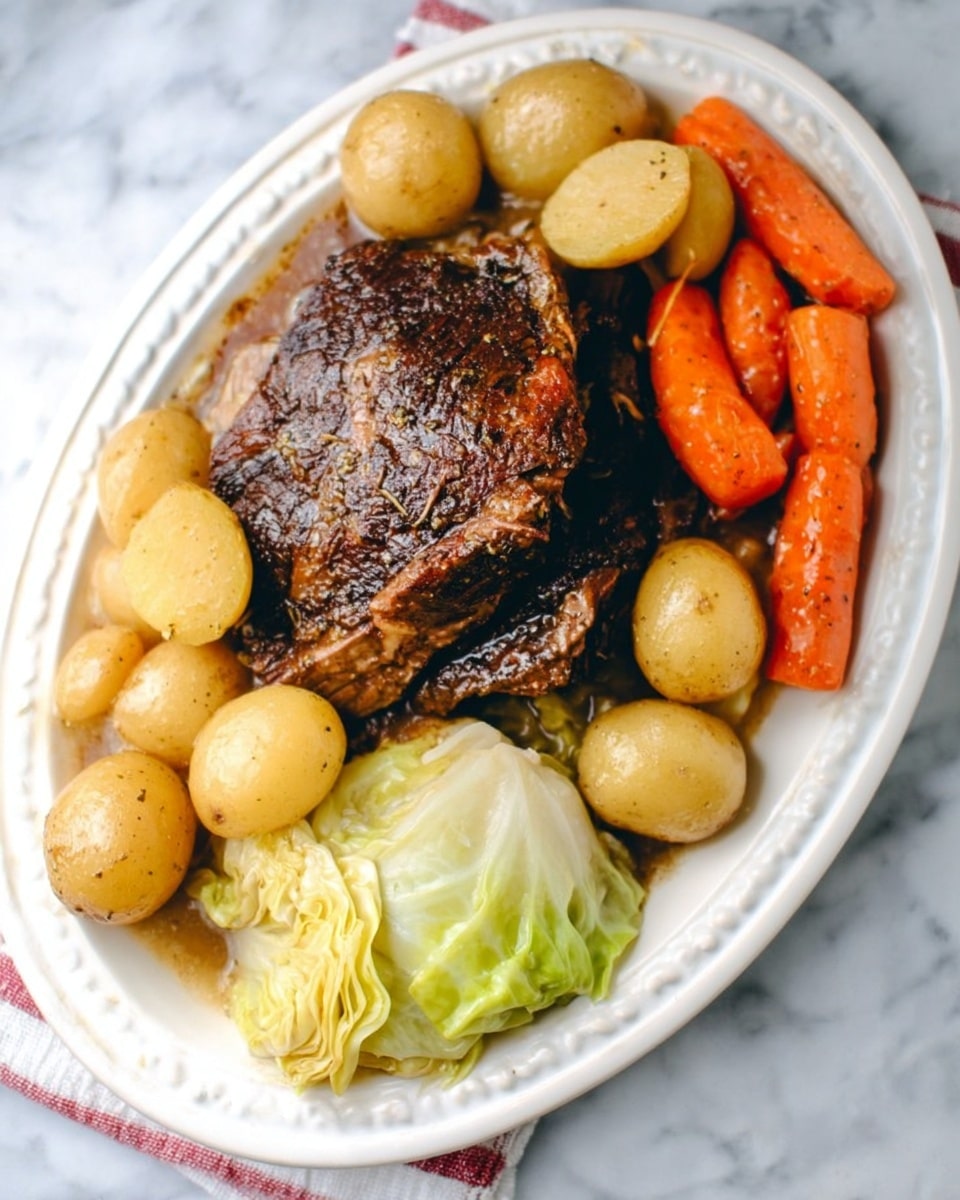
This Ninja Foodi Corned Beef and Cabbage recipe delivers a classic Irish-American meal that’s tender, flavorful, and perfectly cooked using an electric pressure cooker and air crisp function. The corned beef brisket is pressure cooked with seasonings, then paired with hearty baby potatoes, carrots, and cabbage. A tangy brown sugar and mustard glaze finishes the dish with a caramelized, crispy crust, making it a comforting dinner perfect for St. Patrick’s Day or any cozy occasion.
- Prep Time: 15 minutes
- Cook Time: 1 hour 38 minutes
- Total Time: 1 hour 53 minutes
- Yield: 8 to 10 servings 1x
- Category: Main Course
- Method: Instant Pot
- Cuisine: Irish-American
Ingredients
Corned Beef and Seasoning
- 4 to 5 pounds corned beef brisket (with seasoning packet)
- 1 cup chicken stock
- ¼ cup balsamic vinegar
- 1 onion, diced
- 7 cloves garlic, peeled
- ½ teaspoon dried thyme leaves
- 3 bay leaves
Vegetables
- 1 ½ pounds gold baby potatoes, scrubbed
- 1 pound carrots, peeled and cut into large pieces
- 1 head green cabbage, cored and cut into wedges
Glaze
- ½ cup light brown sugar, packed
- ½ cup water
- ½ cup Dijon mustard
Instructions
- Prepare and pressure cook brisket: Place the corned beef brisket fat-side down into the Ninja Foodi cooker pot. Add the seasoning packet that came with the brisket, chicken stock, balsamic vinegar, diced onion, peeled garlic cloves, dried thyme, and bay leaves. Secure the lid and set the valve to sealing.
- Pressure cook brisket: Set the cooker to manual or ‘pressure cook’ for 1 hour and 15 minutes (75 minutes). Start the cycle. When complete, allow natural pressure release for 10 minutes, then perform a quick release to release remaining pressure.
- Remove brisket and prepare for vegetables: Take the brisket out and keep it warm. Remove the garlic and bay leaves from the pot.
- Add and pressure cook vegetables: Place the baby potatoes, carrots, and cabbage into the cooking liquid in the pot. Secure the lid again, set the valve to sealing, and pressure cook on manual for 3 minutes. Once done, quick release the pressure.
- Make the glaze: In a small saucepan over medium-high heat, combine brown sugar and water. Bring to a boil and stir in Dijon mustard. Continue cooking until the sauce reduces and thickens slightly, about 2 to 3 minutes.
- Air crisp the brisket: Place the corned beef brisket back on top of the cooked vegetables. Pour the brown sugar-mustard glaze over the brisket. Close the Ninja Foodi with the crisping lid and set the Air Crisp function to 400°F. Cook for 20 minutes to develop a caramelized, crispy crust.
- Rest and serve: Remove the brisket and let it rest for 15 minutes before slicing. Slice against the grain and serve over the cooked vegetables, accompanied by extra mustard if desired.
Notes
- Using the natural release after pressure cooking the brisket helps keep the meat tender and juicy.
- The air crisp step adds a flavorful crust, but you can skip it if you prefer a softer texture.
- Adjust cooking times slightly based on your altitude or size of brisket.
- Leftover corned beef can be refrigerated and reheated for sandwiches or hash.
- Make sure to slice the brisket against the grain for the best texture.
Keywords: corned beef, cabbage, Ninja Foodi recipes, pressure cooker, St. Patrick’s Day, Irish food