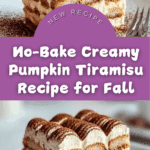
Dreamy Creamy Pumpkin Tiramisu: A No-Bake Fall Treat Recipe
Introduction
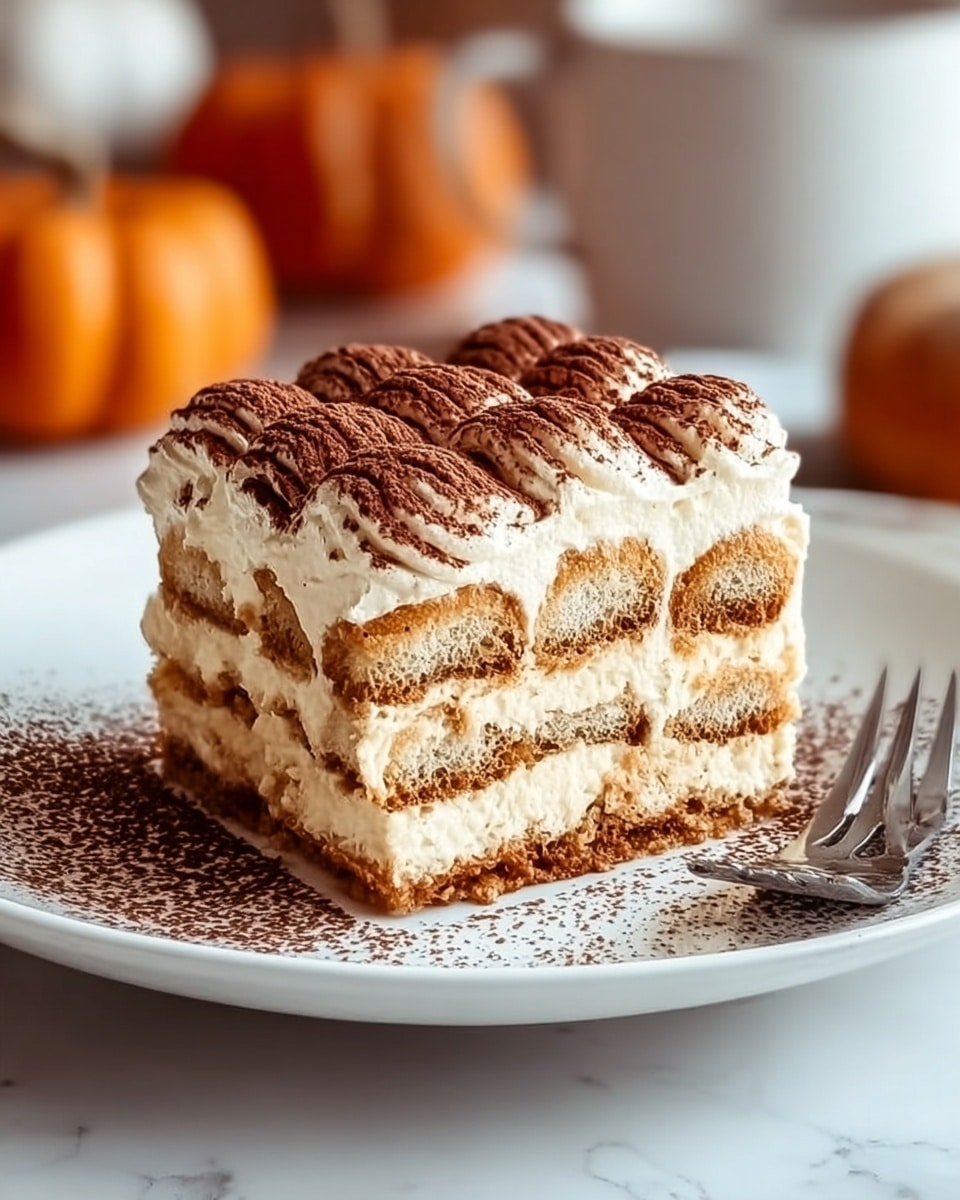
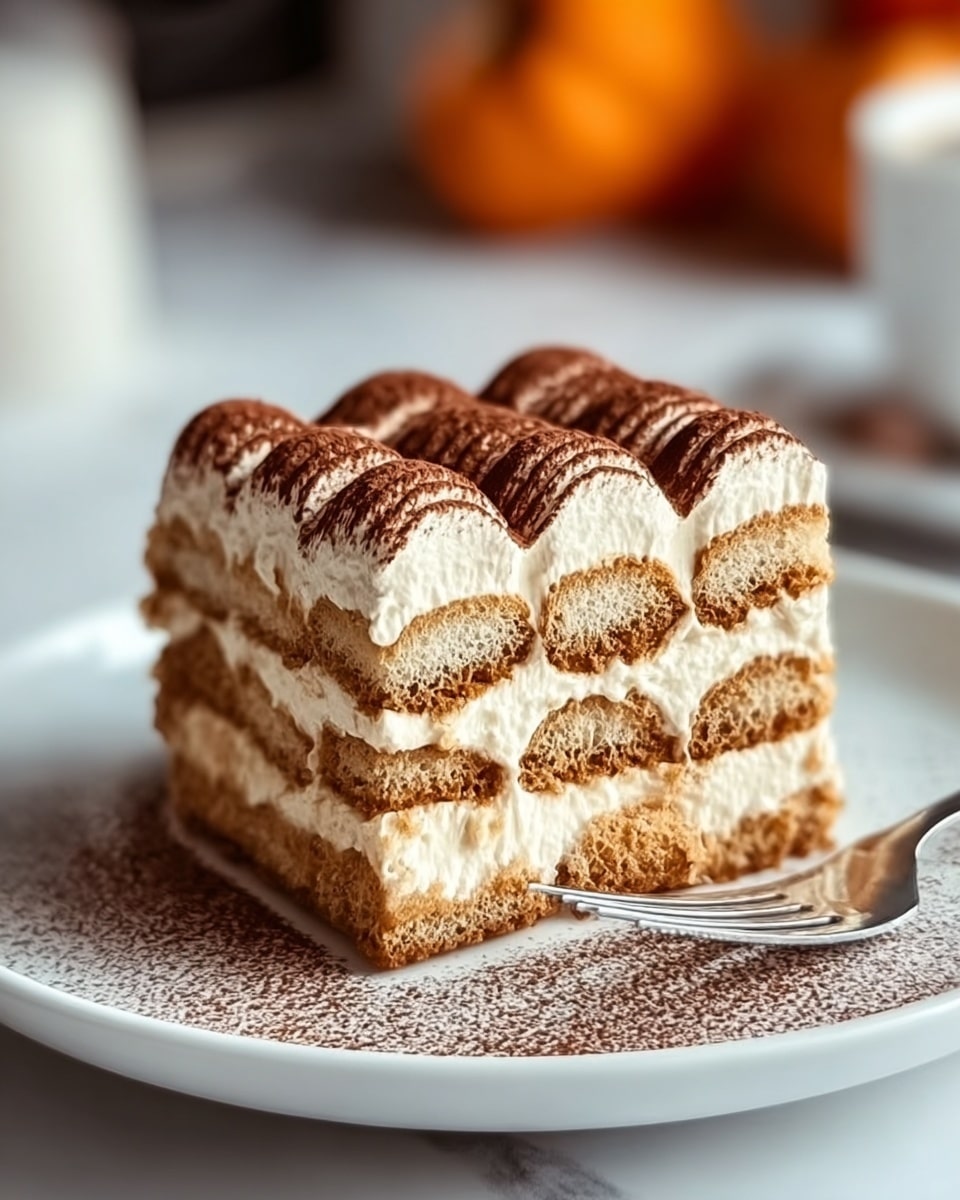
This dreamy creamy pumpkin tiramisu is a no-bake fall treat that combines the rich flavors of pumpkin and warm spices with the classic Italian dessert. It’s perfect for autumn gatherings or whenever you crave a luscious, seasonal dessert without turning on the oven.
Ingredients
- 15.87 oz Mascarpone Cheese (opt for high-quality brands for the best texture)
- 1/2 cup Pumpkin Puree (ensure you’re using pure puree, not pie filling)
- 2/3 cup Granulated Sugar (feel free to reduce if you’re using sweetened whipped cream)
- 1/3 cup Brown Sugar (can be swapped with coconut sugar if desired)
- 2 teaspoons Pumpkin Pie Spice (consider DIYing it using cinnamon, nutmeg, and ginger)
- 1/4 teaspoon Kosher Salt (fine sea salt works just as well)
- 2 cups Heavy Cream (substitute with whipped coconut cream for a dairy-free option)
- 28 pieces Ladyfingers (homemade or sponge cake works as a great substitute)
- 2 cups Espresso or Strong Coffee (soaks the ladyfingers; cold brew is also a viable option)
- Cocoa Powder (used for dusting before serving)
Instructions
- Step 1: Brew 2 cups of strong espresso or coffee and allow it to cool to room temperature.
- Step 2: In a large mixing bowl, combine mascarpone cheese, granulated sugar, brown sugar, kosher salt, and pumpkin pie spice. Beat on medium speed until smooth and creamy.
- Step 3: Add pumpkin puree to the mixture and continue mixing until fully incorporated.
- Step 4: In a separate bowl, whip the cold heavy cream until thick peaks form.
- Step 5: Gently fold the whipped cream into the pumpkin mascarpone mixture using a spatula.
- Step 6: Quickly dip each ladyfinger into the cooled coffee for 1-2 seconds, then arrange half of them in a single layer at the bottom of your serving dish.
- Step 7: Spread half of the creamy pumpkin mascarpone mixture over the ladyfinger layer.
- Step 8: Repeat dipping and layering with the remaining ladyfingers, then cover with the remaining mascarpone mixture.
- Step 9: Cover the dish with plastic wrap and refrigerate for at least 4 hours, preferably overnight, to set.
- Step 10: Just before serving, dust the top generously with cocoa powder.
Tips & Variations
- Use homemade pumpkin pie spice for a fresher flavor by mixing cinnamon, nutmeg, and ginger.
- Swap ladyfingers with sponge cake if preferred or for a different texture.
- For a dairy-free version, substitute heavy cream with whipped coconut cream and use dairy-free mascarpone alternatives.
- Adjust sugar levels based on your sweetness preference, especially if using sweetened cream.
Storage
Store your pumpkin tiramisu in an airtight container in the refrigerator for up to 4 days. Reheat is not recommended as tiramisu is best served chilled and freshly made.
How to Serve
Serve this delicious recipe with your favorite sides.
FAQs
Can I make this tiramisu ahead of time?
Yes, it’s best to prepare it at least 4 hours ahead or overnight in the refrigerator to allow the flavors to meld and the dessert to set properly.
What if I don’t have espresso?
You can use strong brewed coffee or cold brew as a substitute. The robust flavor will still soak into the ladyfingers nicely and complement the pumpkin cream.
PrintDreamy Creamy Pumpkin Tiramisu: A No-Bake Fall Treat Recipe

This dreamy creamy pumpkin tiramisu is a no-bake fall dessert that layers rich mascarpone and pumpkin puree cream with espresso-soaked ladyfingers, dusted with cocoa powder for a seasonal twist on the classic Italian tiramisu. Perfectly spiced with pumpkin pie spice and set to chill overnight, it’s a luscious treat that captures the essence of autumn in every bite.
- Prep Time: 20 minutes
- Cook Time: 0 minutes
- Total Time: 4 hours 20 minutes
- Yield: 8 servings 1x
- Category: Dessert
- Method: No-Cook
- Cuisine: Italian-American
Ingredients
For the Cream Mixture
- 15.87 oz Mascarpone Cheese (opt for high-quality brands for the best texture)
- 1/2 cup Pumpkin Puree (ensure pure puree, not pie filling)
- 2/3 cup Granulated Sugar (reduce if using sweetened whipped cream)
- 1/3 cup Brown Sugar (can be swapped with coconut sugar)
- 2 teaspoons Pumpkin Pie Spice (cinnamon, nutmeg, ginger blend)
- 1/4 teaspoon Kosher Salt (fine sea salt can be substituted)
- 2 cups Heavy Cream (substitute whipped coconut cream for dairy-free option)
For the Layers
- 28 pieces Ladyfingers (homemade or sponge cake can substitute)
- 2 cups Espresso or Strong Coffee (cold brew also works)
- Cocoa Powder (for dusting before serving)
Instructions
- Brew Coffee: Start by brewing 2 cups of strong espresso or coffee. Once brewed, allow it to cool to room temperature to prevent sogginess when soaking the ladyfingers.
- Prepare Cream Mixture: In a large mixing bowl, combine mascarpone cheese, granulated sugar, brown sugar, kosher salt, and pumpkin pie spice. Beat the mixture on medium speed using a hand mixer until smooth and creamy.
- Incorporate Pumpkin: Add pumpkin puree to the mascarpone mixture and continue mixing until fully incorporated and evenly blended.
- Whip Heavy Cream: In a separate chilled bowl, whip the cold heavy cream with a hand mixer until thick and soft peaks form.
- Fold Cream into Mixture: Gently fold the whipped cream into the pumpkin mascarpone mixture using a spatula to maintain the airy texture.
- Soak Ladyfingers: Quickly dip each ladyfinger into the cooled coffee for 1-2 seconds, ensuring they absorb the liquid without becoming too soggy.
- Layer Base: Arrange half of the dipped ladyfingers in a single layer at the bottom of your serving dish to form the base layer.
- Add First Cream Layer: Spread half of the creamy pumpkin mascarpone mixture evenly over the first layer of ladyfingers.
- Repeat Layers: Repeat the soaking and layering process with the remaining ladyfingers and cover them with the remaining pumpkin mascarpone mixture to complete the dessert.
- Chill: Cover the dish tightly with plastic wrap and refrigerate for at least 4 hours, ideally overnight, to allow the flavors to meld and the texture to set.
- Serve: Just before serving, dust the top generously with cocoa powder to finish your seasonal tiramisu beautifully.
Notes
- Serve your creamy pumpkin tiramisu cold for the best texture and flavor.
- Store leftovers in an airtight container in the refrigerator for up to 4 days to maintain freshness.
- Feel free to customize the pumpkin pie spice with your preferred blend of cinnamon, nutmeg, and ginger.
- For a dairy-free version, substitute mascarpone and heavy cream with plant-based alternatives such as whipped coconut cream and dairy-free soft cheese.
- Tried this recipe? Let us know how it turned out to share your experience!
Keywords: pumpkin tiramisu, no-bake dessert, fall dessert, pumpkin recipe, mascarpone dessert, espresso tiramisu